Cropping footage is one of those skills that seems simple until you actually sit down to do it properly, and Adobe Premiere Pro offers far more depth than most beginners realise. Whether you're trimming distracting elements from the edges of a shot or reshaping a clip for a completely different platform, understanding the tools available within this editing suite will save you countless hours of frustration. This guide walks through the practical steps of adjusting your frame, managing aspect ratios, and polishing the final look with light and shadow controls.
Key takeaways
- Proper organization of footage in the Project panel is a foundational step that improves editing efficiency and helps manage complex timelines.
- Setting up the correct sequence resolution and frame rate at the start is crucial to ensure consistency across different platforms.
- The Crop effect allows editors to remove unwanted elements from the edges of a shot by hiding parts of the image without altering the canvas size.
- Motion and Transform tools provide advanced control for repositioning and scaling footage to achieve better visual balance and composition.
- Adobe Premiere Pro's AI-powered Auto Reframe feature simplifies the process of adapting video content for various social media aspect ratios.
- Lumetri Colour tools help restore depth and balance to shadows and highlights that may be affected after changing the frame composition.
- Combining cropping, masking, and colour correction allows for professional-grade visual storytelling by focusing viewer attention on the subject.
Essential Workspace Setup and Sequence Configuration for Video Editing
Importing your footage and organising your project panel
Before any cropping can happen, your footage needs to be brought into the project properly. Dragging clips into the Project panel and keeping them organised into bins might sound like a small detail, but it makes a genuine difference once you're working with dozens of clips across a longer timeline. Renaming files sensibly and grouping related shots together means you won't waste time hunting for the right piece of video content when you're deep into an edit.
Creating the Optimal Sequence Settings for Your Editing Workflow
Once your assets are organised, the next step involves setting up your sequence correctly. This determines the resolution, frame rate, and aspect ratio that everything else will be built around. Getting this right from the start avoids a lot of headaches later, particularly if you already know the final destination for your video, whether that's a cinema screen or a mobile phone. A well-configured sequence acts as the canvas onto which every subsequent adjustment, including any crop, will be applied.
Mastering the Crop Effect and Position Controls Within Adobe Premiere Pro
Applying and Adjusting the Crop Effect for Precise Image Manipulation
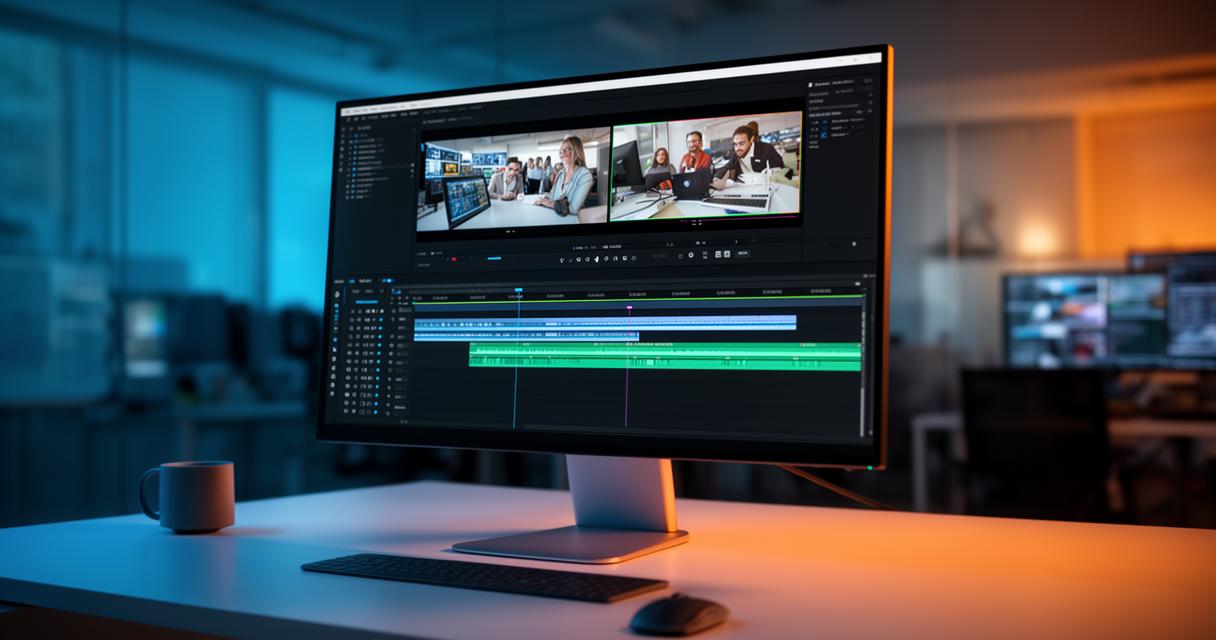
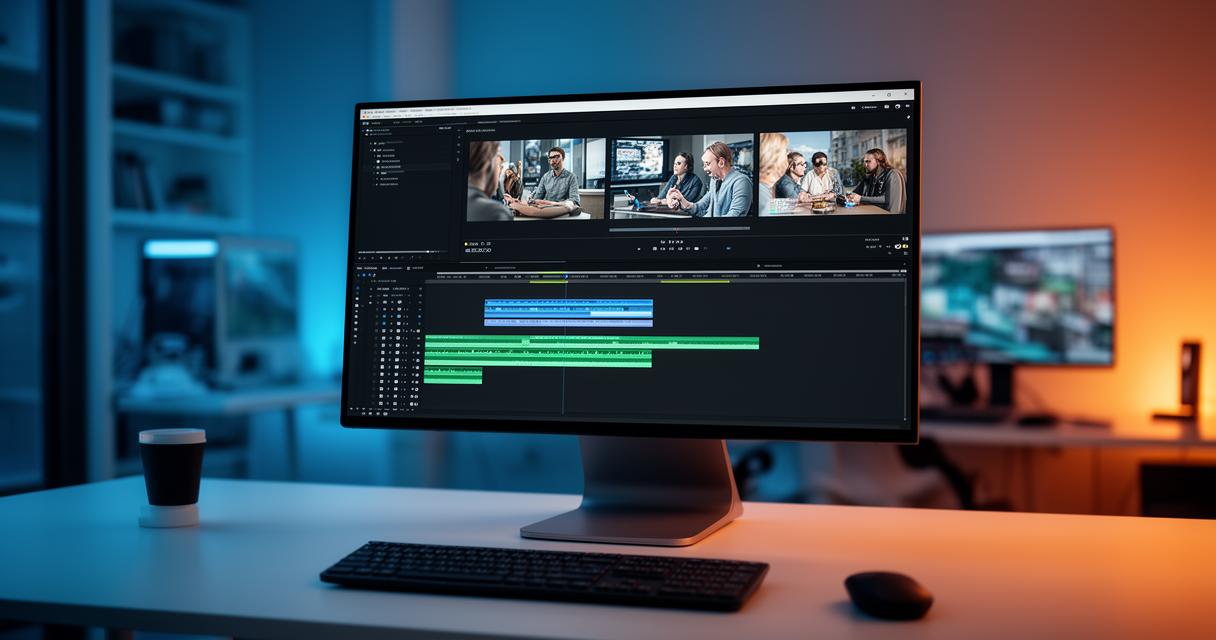
To actually crop a video, you'll want to select the clip sitting on your timeline and head over to the Effects panel, where you can search for the aptly named Crop effect. Dragging this onto your clip adds adjustable handles directly within the Programme Monitor, letting you pull in from the top, bottom, left, or right edges of the video frame. This is fundamentally different from changing the aspect ratio of a project, since cropping simply hides parts of the image rather than reshaping the overall canvas. It's a useful distinction to keep in mind, especially when you're trying to remove an unwanted object lurking at the edge of a shot rather than reformat the whole sequence.
Utilising Motion and Transform Tools for Advanced Frame Composition
Beyond the basic Crop effect, Premiere Pro also gives editors access to Motion and Transform controls, which allow for repositioning and scaling footage within the frame. These tools work particularly well alongside cropping when you need to recompose a shot, perhaps shifting a subject slightly off-centre for better visual balance. Understanding the relationship between width and height becomes especially important here, since altering one without considering the other can lead to stretched or distorted footage. Film aspect ratio, often expressed as 2.35:1, looks dramatically different from the more familiar 16:9 television standard, and knowing which one suits your project shapes every framing decision you make afterwards.
For editors working across multiple platforms, Premiere's Auto Reframe feature has become something of a lifesaver. Powered by AI, it automatically adjusts footage to fit a chosen aspect ratio while attempting to keep the main subject in frame throughout. To use it, simply right-click on your sequence, choose Auto Reframe Sequence, and select your target aspect ratio from the options provided. From there, you can fine-tune the motion tracking settings depending on how much movement exists within your video content, which is particularly handy when reformatting for social media.
- YouTube Shorts and regular Instagram Reels typically require a 9:16 vertical format
- Standard YouTube videos remain widescreen at 16:9
- Instagram in-feed posts often use a 4:5 portrait or 1:1 square ratio
- TikTok content is almost universally 9:16 vertical
- Facebook in-feed videos can be either 1:1 square or 4:5 portrait
Fine-tuning light and shadow adjustments after cropping your video
Implementing lumetri colour features for professional-grade results
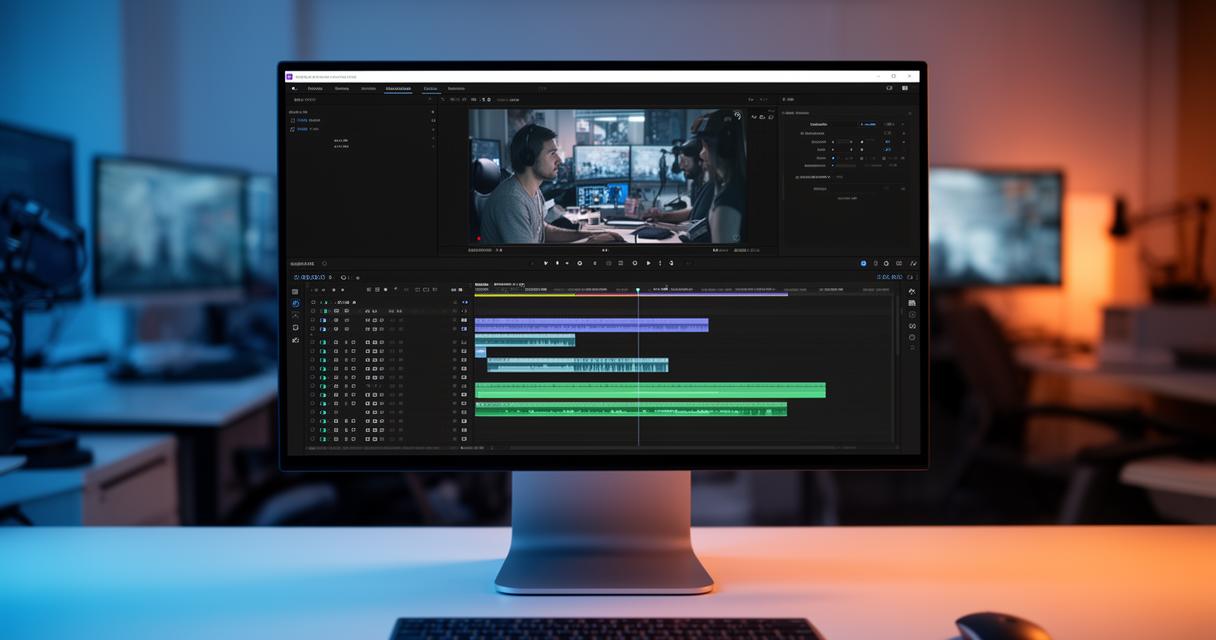
Once your framing is sorted, attention naturally turns to how the footage actually looks. The Lumetri Colour panel remains one of Premiere's most powerful tools for adjusting exposure, contrast, and the overall mood of a scene. After cropping, you might notice that certain shadows or highlights that were previously balanced now sit awkwardly within the new frame, so revisiting these settings is often necessary. Subtle tweaks to shadows and highlights can bring back a sense of depth that cropping sometimes flattens, particularly when working with footage that has strong directional lighting.
Combining Effects and Masks for Enhanced Visual Storytelling
For more nuanced control, pairing the Crop effect with masks allows editors to apply colour or exposure adjustments to specific areas of the frame rather than the whole image. This is especially useful when a cropped shot leaves an unevenly lit background that draws attention away from the subject. Layering these techniques together, alongside careful use of motion tracking, gives your video editing a polished, professional finish that feels intentional rather than accidental. Mastering this combination of cropping, reframing, and colour correction ultimately gives you far greater creative control over how your final video content is presented across any platform.